Tonic RC Initial Parts Installation Tips
This is a shortened summary pulled in part from an email newsletter sent to the first group of Tonic RC parts buyers. I felt this information could be beneficial to others, so I've added it here.
Quality Control
If you feel there's something incorrect with your parts, or a quality control issue (beyond just tree support nubs), please let me know. I inspect every part before I package it, but there's always the risk I missed something. If you feel something is off, snap a pic and email it to me!
Installation Instructions
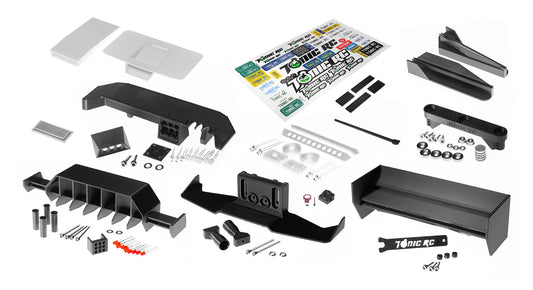
I don't have full instructions for the parts just yet (working on it!). I really wanted to get the parts available to you as soon as the Shopify store build was complete in time for the holidays. However, I do have some brief instructions on some of the parts and I'm adding to them daily.
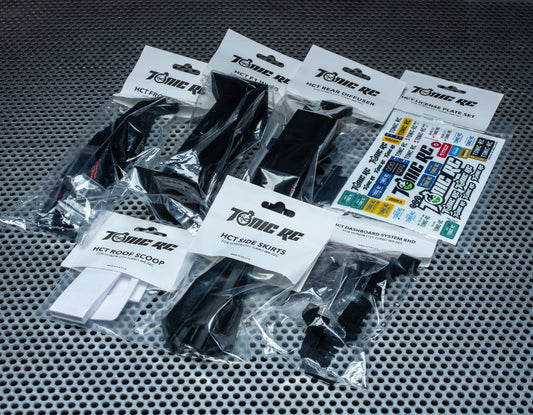
Here's how it works. For now, I'm adding instructions to parts on their individual part product page on the store. So for example, if you have questions as to how to install the HCT Dashboard system, simply go to the individual HCT Dashboard part on the store and there will be installation info there (scroll to the bottom). But again, please be aware that not all parts have instructions just yet. And at some point, sooner than later, I'll make dedicated pages for each of these parts' instructions, complete with photos and examples.
And speaking of the HCT Dashboard system, you'll see that it's the only part in the entire lineup that has the tree supports on them. I personally remove all tree supports from every other part before I package it, but the HCT Dashboard just takes too long for me to do dozens of them, so I have to leave that one to your masterwork. It just requires needle nose pliers and a firm grip. You can smooth out the LED holes with anything like a hole arm reamer, a long rat-tail filer, a drill bit (by hand), or even a hex driver.
However, there will still be times that some of the parts might need a little more smoothing, either with a razor blade, a file, a pair of single edge nippers, or the edge of your fingernail lol.
And for added guidance, there's always my Honda City Turbo Senna Edition video on YouTube where I show on video how I install these parts. Most of these parts are pretty self explanatory anyway on how they get installed, so you shouldn't have any major issues on getting these parts installed.

SHOW ME THE GOODS!
If you're inclined, I'd love to see how you're using these parts! You can either email them to me or tag/DM me on social media of a post you're using them in and I'll share it as a post or a story! And of course, I'll tag you for the credit you deserve. Even if you only have the parts in hand and are not built into the car yet, that's OK too! It's just fun to see how everyone will be using these parts and I know other people would love to see that too!
YouTube • Instagram • Facebook • TikTok
OK, thank you again and enjoy the parts! More instruction details to come!